






The shift changes at ten, and a forklift is waiting at a high speed door that will not move. The control panel glows with a short code nobody in the building can read. Someone suggests bypassing the photocells to get the line running, and the safety manager has to say no before anyone says yes.
Our production team assembles every variant discussed here, and the differences show up long before the warranty does. Most facilities own that moment. The high speed door control panel is the most consulted and least understood part of any high speed door control system. That gap explains two bad habits: swapping parts on a guess, or clearing codes without recording them. This guide walks through what the panel actually does, the settings worth knowing, how to read a fault code, and the order of checks that finds causes instead of symptoms. It closes with the features worth demanding when you specify the next door.
What a High Speed Door Control Panel Does
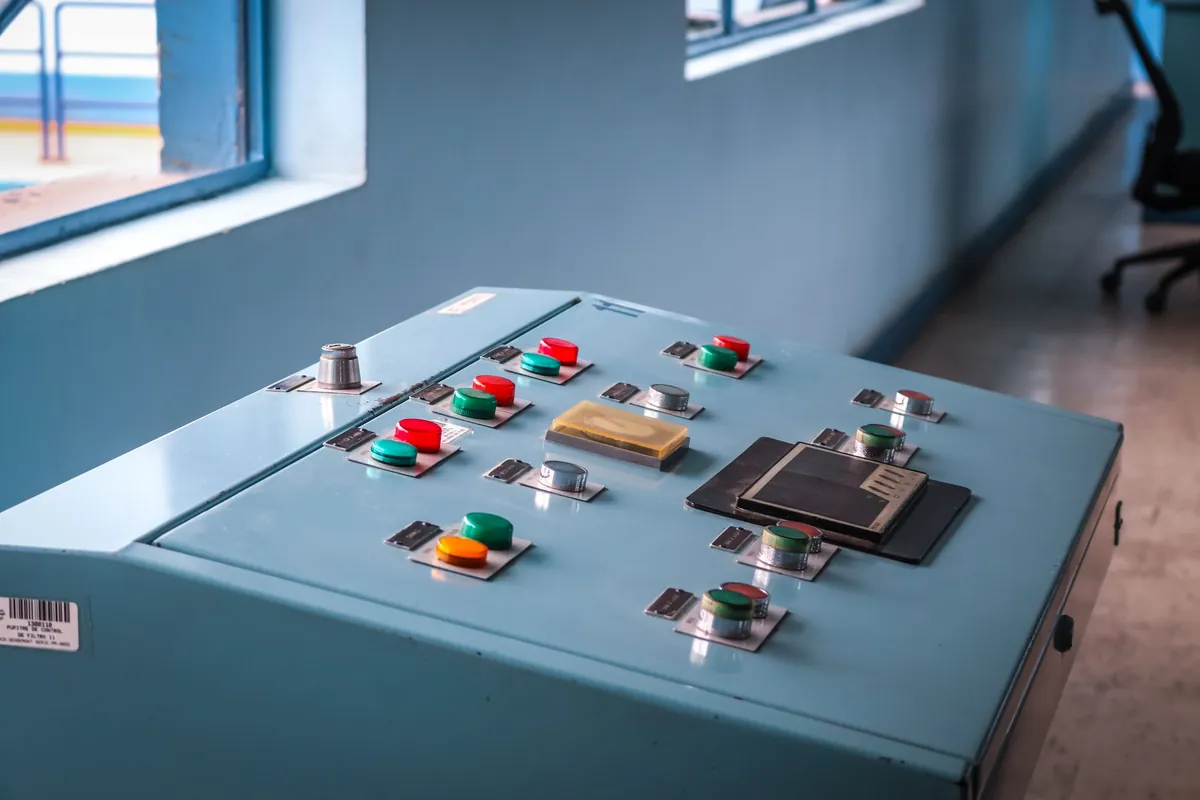
A high speed door control panel is easiest to understand in three layers. The command layer carries the buttons: open, stop, and close. A door manufacturer’s user manual puts these buttons in their proper place, stating that they are intended for setup, maintenance and repair work. Day-to-day running belongs to the automatic inputs: radar detectors, induction loops, pull switches, remote controls and palm buttons wired to the panel through potential-free contacts.
The panel is the local layer; the app is the layer above it. Authorization, status and log rules for that layer are collected in our remote monitoring guide for door operators.
Panels speak the same language across door families; the guide to cold room door controls and monitoring applies that reading skill to cold room controllers from switches to networked sensors.
The display layer is where the panel talks. Most modern units show running status, cycle counts, output frequency or speed, and the state of every input and output terminal. Many also keep a fault history menu that stores the last several alarms with their codes. One servo control system manual, for example, reserves a display page that holds the four most recent faults. That history is the cheapest diagnostic tool on the machine, and it disappears the moment someone resets without reading.
The protection layer sits around the other two. An emergency stop button cuts every activation device until it is released, and a panel will report an active emergency stop circuit as its own fault. Behind it sits the main switch, which disconnects the door from the mains. The same manual that describes the buttons also instructs technicians to switch the main device off and lock it against re-activation before any work on the door.
These layers explain a habit that surprises new crews. During a fault, the buttons on a high speed door control panel are not the enemy; they are the safe way to inch the door during diagnosis. The door should run on its automatic sources in traffic and on its buttons in the hands of someone who is watching it. Mixing those two jobs is how doors get tested with people still in the doorway.
The display layer also carries quiet bookkeeping that pays off later. Cycle counts tell you whether a door is on a light or a severe duty pattern, and many controllers track hours run or cycles since the last service. A panel that counts honestly turns arguments about maintenance intervals into arithmetic. When a customer reports a fault, the counter is one of the first questions our engineers ask. A controller alarm at cycle 40,000 and one at cycle 400 sit in different conversations. For a deeper dive, see principles and types of automatic door openers.
It helps to divide the work this way. The panel commands the drive, watches its safety devices, and reports what it sees. When a high speed door misbehaves, the evidence is usually already on that display, in the input list or in the fault history. The next two sections cover the settings that shape behavior and the codes that report failures, in that order. Related reading: high speed door maintenance checklist covers this in detail.
None of this is unique to one brand of industrial doors. Layouts differ, but the split between command, display and protection shows up on nearly every rapid door controller. It is also the control half of the mechanism described in our guide to how a high speed door works. Once you can name the three layers, an unfamiliar panel stops being a mystery box and becomes a checklist.
The parameters on screen interact with the setting you are trying to hit, and our high speed door opening speed guide explains how to pick the number before you tune the panel.
The Settings That Actually Matter
Panels expose dozens of parameters, but a handful decide how the door behaves every cycle. Opening and closing speeds come first. Servo controllers express them as frequency values, with a fast section for travel and a slow section for the last stretch.
One servo manual’s example values are 250 Hz for the fast opening section and 150 Hz for fast closing. Its slow sections sit at 30 Hz. In door terms, that maps to the operating range our high speed doors run at, from 0.8 up to 2.5 metres per second. For related specs and options, see high speed door vision window.
The slow sections are not lost time. They position the curtain gently, protect the bottom bar, and give sensors a stable final approach. They also give the controller room to brake cleanly instead of slamming the curtain into its stop. When a door strikes hard at the end of travel, the slow section values are a sensible first stop.
Timing parameters sit next to speed. Many servo drives release the brake after the motor is already producing torque, and re-apply torque before the brake closes, so the curtain never hangs on the brake alone. The same example manual uses a 100 millisecond servo start delay and a 200 millisecond close delay for exactly this reason. If a door settles or drifts after stopping, those two numbers are among the first things a technician inspects.
The closing delay deserves special attention. This is the countdown between the moment the door reaches open and the moment it starts down. It should match the actual passage time of your slowest regular traffic, not an optimistic estimate. A delay that is too short trains drivers to rush the doorway, and a curtain that starts down over a vehicle ends in torn panels or worse. A delay that is far too long simply wastes the energy the door exists to save.
Limit positions are the third group. Electronic limits tell the controller where open and closed actually are, and most panels can learn them automatically. They also detect when that learning has been lost.
The example manual lists a code for encoder data overflow, and its remedy is to set the top limit and bottom limit again. It lists a separate alarm for unlearned limits after the encoder was removed, its battery replaced, or a first installation. Re-learning limits is routine work, but it follows mechanical checks, never replaces them.
That ordering matters enough to state as a rule. Reposition limits only after guides, curtains and drive components have been inspected, because a door that drags on friction will keep needing new limits. For the same reason, never raise speed settings to mask mechanical resistance. Faster travel against a dragging guide converts into heat, noise and premature drive wear, while the original fault stays in place.
Two habits protect you from the settings themselves. Record original values before changing anything, because a parameter that cannot be undone is a fault you created. And back the full set up before replacing a controller: speeds, accelerations, delays, sensor logic, positions and interlocks. Many panels protect parameters behind a password, which prevents accidents but is no substitute for a written copy or an export file.
On a well-run site, the high speed door control panel is configured once by the manufacturer and rarely touched again, which is why bad changes fail quietly. A door that suddenly feels different is often a door whose parameters were changed without a note. The panel itself usually remembers who changed what, and the fault history often records the cycle count when it happened. That memory is exactly why the next section starts at the display rather than at the parts cabinet.
When you evaluate industrial door operators for a new project, treat parameter access as a feature, not a nuisance. A controller that shows its values clearly and allows a clean backup shortens every service visit that door will ever need.
Reading Fault Codes: Five Universal Categories
Fault codes intimidate people because every manufacturer numbers them differently. The numbering is brand-specific, but the content is not. Almost every code a high speed door control panel can display falls into one of five groups: current, voltage, position, time and load, or the safety circuit. Read the code as a symptom report rather than a parts order, and the brand stops mattering.
A code tells you what the controller detected, not which component to replace. A photocell alarm may mean dirty lenses, a knocked bracket, damaged wiring, direct sunlight or a failed sensor, and the panel cannot tell you which. That is why the categories below end with a first step rather than a part number. The examples cited here come from one real servo control system manual, and the meanings on your door will follow its own handbook.
| Category | Typical examples | Common causes | First step |
|---|---|---|---|
| Current faults | Short circuit, software or hardware overcurrent | Acceleration too short, damaged drive stage, poor grounding, wiring fault | Try a gentle manual move with a longer acceleration before assuming the drive has failed |
| Voltage faults | Overvoltage, undervoltage | Deceleration too short, missing or undersized braking resistor, weak supply, thin power cord | Measure supply at the panel under load, not at the distribution board |
| Position faults | Weak encoder signal, encoder data overflow, limits unlearned | Ageing magnetic ring, encoder removed, battery replaced, first commissioning | Inspect the encoder mechanically, then re-teach limits |
| Time and load faults | Door open or close timeout, motor overspeed, drive overheat | Protective time too short for door height, heavy load with slow travel, phase sequence error, clogged cooling | Watch one full cycle and note where it slows, strains or stalls |
| Safety and command faults | Emergency stop active, interlock active, door held open or blocked from closing | Pressed e-stop, stuck radar input, active safety edge input, misaligned photocells, dirty lenses | Open the input status page and find which input is holding the door |
The safety and command category deserves its own reading habit. Modern panels show every input in real time, and unexpected behavior usually has an active input behind it. A door that refuses to close is often a radar input held on by moving air, a pending vehicle or a stuck relay. A door that will not open may have an open emergency stop circuit that disables every activation device at once. Neither condition is a broken door; both are the panel faithfully reporting its inputs.
History adds the dimension a single alarm lacks. Read the stored list in order and note the cycle count beside each entry, because time stamps and counters turn random events into patterns. A photocell alarm that appears only at dawn points at low sunlight, while an overcurrent that follows every third cycle points at a mechanical bind. One entry is an event; three entries with a shared trigger is a diagnosis.
Environmental interference hides in this category too. Photocells misaligned by vibration, lenses filmed with dust, direct sunlight flooding a receiver, or a safety edge with a fading wireless battery in winter, all read as sensor faults. Clean, realign and retest before ordering a sensor, and walk the area to see what changed. New racking, a parked vehicle or a changed traffic route can create interference that no part swap will fix.
Current and voltage codes point away from sensors and toward the power path. Overcurrent alarms list short acceleration times, damaged output stages and unreliable grounding among their causes. Overvoltage follows braking without a resistor to absorb the energy, while undervoltage traces back to weak supplies, thin cords or genuine overload. These faults belong to qualified electrical staff, and a panel that keeps tripping its breaker is asking for them, not for another reset.
Time and load codes are the panel’s way of describing struggle. An open or close timeout means the door did not arrive within its protective window, which the example manual attributes to short protective times, heavy loads or undersized motors. Overspeed and overheat codes flag a drive working against something. Treat them as requests to watch a full cycle, because the stall point usually names the mechanical problem in one observation.
Position codes complete the five. A weak encoder signal often means the magnetic ring has aged or shifted. Data overflow means the counted position left its valid range. Either way the controller is saying its map of the door is gone. The door that crashes into the floor or the header almost always started here.
Re-teach the limits once, verify the travel, and record the cycle count where the new limits were learned. That single record line turns a mysterious fault into a dated event. It also gives the next technician a starting point that costs nothing.
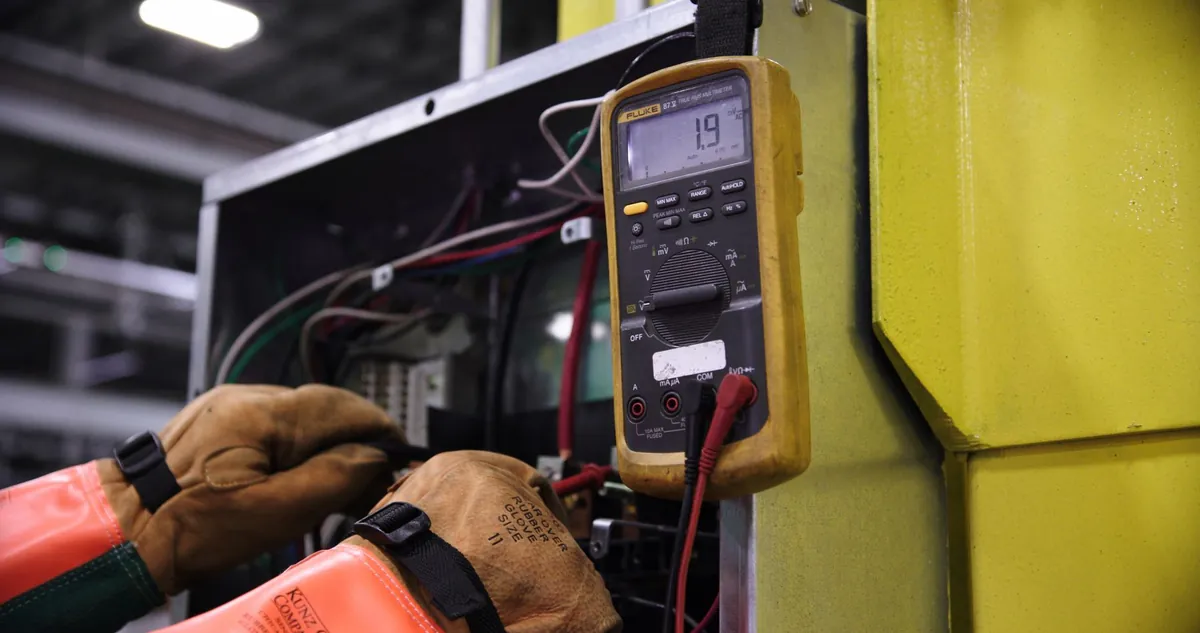
One caution closes this section. The examples above come from a single manual, so treat them as a demonstration of the taxonomy rather than a lookup table for your door. Whatever brand the panel carries, its own handbook maps the codes, and keeping that handbook with the panel is a maintenance task in itself. A laminated code summary taped inside the cabinet door is worth more than any troubleshooting app.
A Troubleshooting Sequence That Works
Diagnosis goes wrong at the start, not in the middle. The first step is safety: secure the door so it cannot move while you work. That means the main switch goes off and stays off whenever anyone approaches mechanical parts, and nobody bypasses a safety device to speed up testing. On high-cycle doors, a bypassed photocell or safety edge is not a shortcut; it is the single most dangerous modification a crew can make.
The high speed door control panel will report a blocked safety device honestly, but keeping that device in the circuit is a human decision. Our separate guide to high speed door safety features covers the devices themselves in detail.
The second step is recording. Write down every code on the display, the state of the inputs, the cycle count and anything the fault history shows, before anyone presses reset. Resetting can clear the most useful diagnostic clue the door will give you this week. Photographs of the display count as records, and they cost nothing.
Third, read the inputs before touching hardware. The input status page on a high speed door control panel answers the question “why is the door doing this” faster than any meter. A held-open radar input explains a door that will not close. An active safety edge input explains a door that reverses at a fixed height. An open emergency stop circuit explains a panel that ignores everything.
Many phantom faults die on this screen. Doors that open by themselves, close on empty doorways or refuse every command usually have an input stuck somewhere between the sensor and the board. Finding that stuck input takes a minute once the list is visible, and it costs a parts order once it is not.
Fourth, inspect mechanically before adjusting anything. Guides, curtains, bottom bars, brakes and drive components are physical objects that wear, and the controller reacts to their condition. A door that drags will keep producing timeout and overheat codes no matter how the parameters are tuned. Fix the drag, then re-check the code, and only then touch a setting.
Fifth, use reset as a test rather than a repair. Cycling power to the panel for a few seconds is a legitimate way to see whether a fault returns, and some manuals specify exactly that procedure with a short wait. What it cannot do is fix a cause. A fault that comes back after reset, especially one that returns mid-shift, is a scheduled repair, and clearing it again is just rescheduling the same downtime.
Sixth, close the loop. After any repair, run the door through repeated full cycles with the safety devices live, and confirm the original symptom is gone rather than merely quiet. Record what failed, what fixed it and the cycle count, because that log turns repeat offenders into visible patterns. When the same category of fault appears three times, the door is telling you which component family to budget for.
Some work stays out of facility hands, and a good order knows its own edge. Brake replacement, drive-stage faults, structural damage and any fault that requires opening the drive enclosure belong to qualified technicians, a boundary the door’s own manual states in plain language.
Before you place the call, check the warranty position. At our factory, door operators and motors carry a three-year warranty, and servo motors five years. Warranted spare parts ship by DHL or FedEx within five to seven days. A fault diagnosis you can quote over the phone shortens that process further.
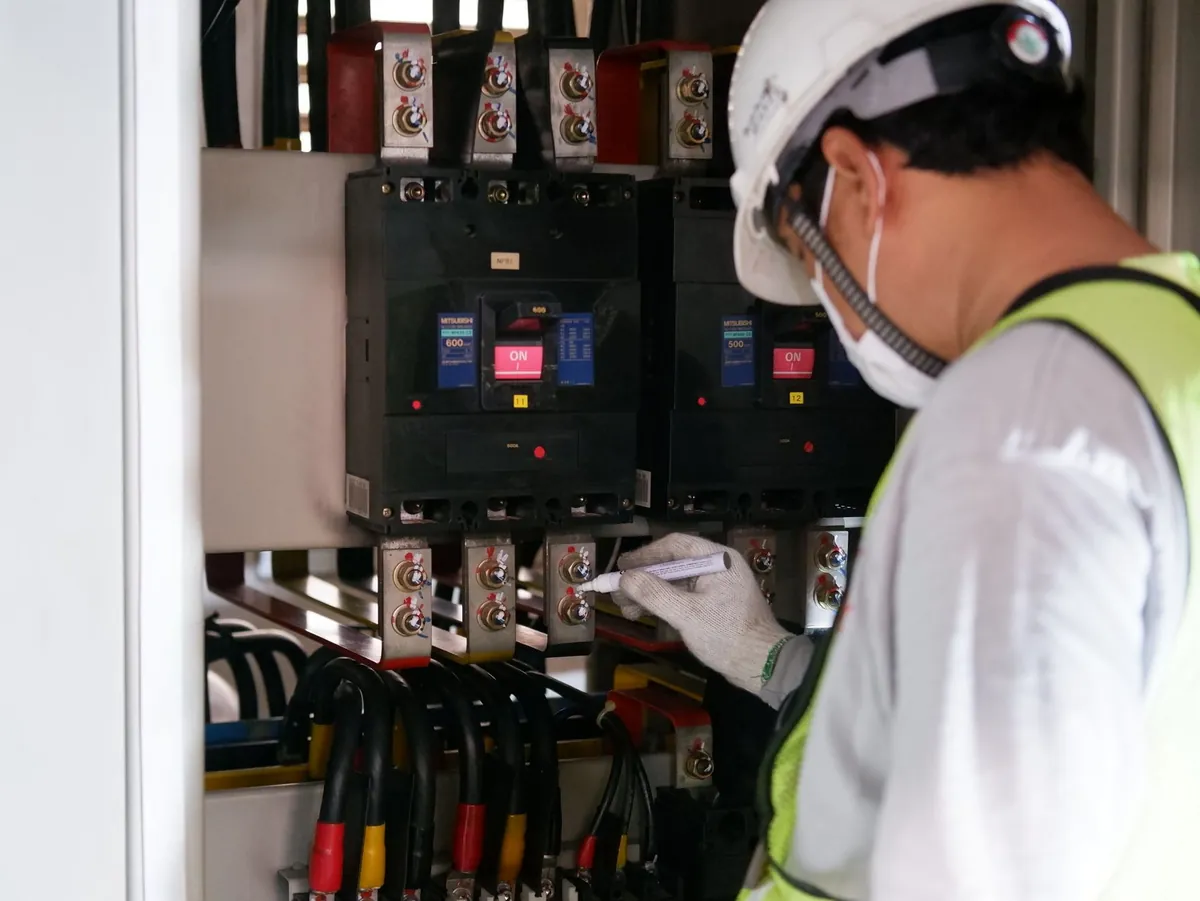
Facilities that follow this order rarely need it often. The sequence is deliberately boring: secure, record, read, inspect, reset as a test, verify. It trades the drama of parts swapping for a short list of observations that almost always name the cause. The same discipline makes warranty claims painless, because you arrive with evidence instead of guesses.
What to Demand From Your Next Control Panel
Most buyers judge a door by its curtain, its speed and its price, and then live with whatever controller is bolted to the jamb. That is backwards, because the panel is what you and your team will touch on every fault day for the next decade. Environment first: a panel on a washdown wall or an outdoor jamb needs an enclosure rated around IP65, which keeps dust and hose water out of the electronics. Ask the same questions of any high speed door control panel you shortlist, whatever the brand. At our factory, our smart door operators are built to that rating and ship with WiFi, Bluetooth and RS485 connectivity as standard capability.
Connectivity changes the economics of faults. A controller that speaks RS485 or sits on your network can push alarms to a dashboard instead of waiting for someone to walk past the door. Remote alerts do not diagnose anything by themselves, but they move the moment of discovery from the next shift change to the minute the fault occurs. For a door that cycles hundreds of times a day, that difference is measured in kept production hours.
Diagnostics are the second demand. Insist on a fault history menu, live input status display and a way to export or back up parameters. Password protection should separate operators from technicians, so a curious hand cannot re-write the speed limits. An automatic limit-learning routine, gentle start and stop profiles and a clearly marked emergency stop round out the baseline. Every item on this list exists because its absence has cost some facility a weekend.
Supportability completes the picture. A panel whose parameters can be saved and restored turns a controller replacement from a re-commissioning project into a half-hour swap.
The panel is one subsystem of five; the high speed door maintenance checklist shows where the error-log reading sits among the weekly, monthly and annual layers.
Documentation matters as much as hardware. The door should arrive with a manual that maps every code, and the drive side should be specified with the same care. That drive-side checklist is laid out in our guide to industrial door motor functions. When you review quotes for industrial doors, ask each supplier exactly what their panel stores, displays and exports. The answers separate manufacturers from assemblers faster than any certificate.
The cheapest diagnostic engineer your plant will ever employ is already mounted next to the door. Demand one that speaks clearly, remembers what it saw, and lets you copy its memory, and every section of this guide gets easier.
Frequently Asked Questions About Door Control Panels
Does a fault code tell me which part to replace?
No. A code reports what the controller detected, such as an overcurrent or a blocked photocell, and one code can have several causes. Use the code’s category to choose a first check, then confirm with the input status or a measurement before ordering parts.
Can I adjust opening and closing speed on the panel?
Yes. Controllers hold separate fast and slow travel values, and technicians can tune them within the drive’s limits. Never raise speed to mask mechanical resistance, and record the original values before changing anything.
Is resetting the panel just power cycling it?
Record all codes and input states first, because resetting erases the best evidence. Cycling power for a few seconds is then a legitimate test of whether the fault returns. A fault that comes back needs a cause, not another reset.
The door overshot its limit and hit the floor. What now?
The controller lost its position reference, often through encoder data overflow or unlearned limits. Inspect the encoder and its magnet, re-teach the open and closed limits, then verify several full cycles before returning the door to traffic.
What protection rating and interfaces should a panel have?
For outdoor or washdown positions, look for an IP65-level enclosure. RS485 or network connectivity, a fault history menu and parameter backup are equally worth specifying, because they shorten every future service visit.