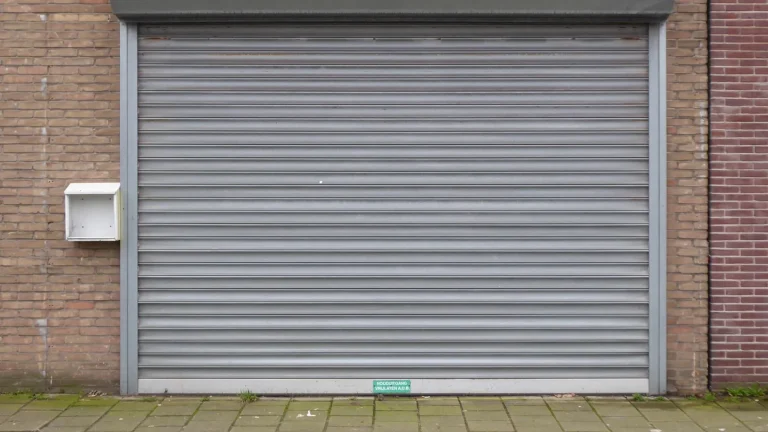







The same warehouse door tells on its seals twice a day. Dust lays a soft grey line just inside each guide rail, and the curtain rattles on the way up. The rubber side seal fitted in spring has already flattened where the slats drag past. By the time somebody silences the rattle with an oil can, the gap behind that worn lip has been feeding the room for months.
We manufacture roller shutter hardware on the same lines as our slats, and our shop-floor view is blunt: brush strips are not an upgrade of rubber; they are a different tool. Roller shutter brush seals win wherever industrial doors move often, dust never rests and the opening refuses to stay straight. They lose wherever water or wind pressure needs a wall. This guide covers where each material earns its place, how to read the bristle specs, and how to fit and replace strips without fighting the door.
What a Brush Seal Is and Where It Sits
A brush seal is a line of densely planted filaments anchored in a metal or plastic backing, supplied on coils or cut to length. One German manufacturer’s range runs from filament diameters of 0.10 to 1.2 mm up to bristle heights of 3.0 to 30.0 mm. The backing feet go as narrow as 4.8 mm. That spread exists because the strip has to match a groove, not an average.
Brush seals handle dust and air at the opening; the coated slat faces above them face UV, salt and coiling wear every cycle. The powder coating colours guide explains how RAL matching and batch tolerance work in practice.
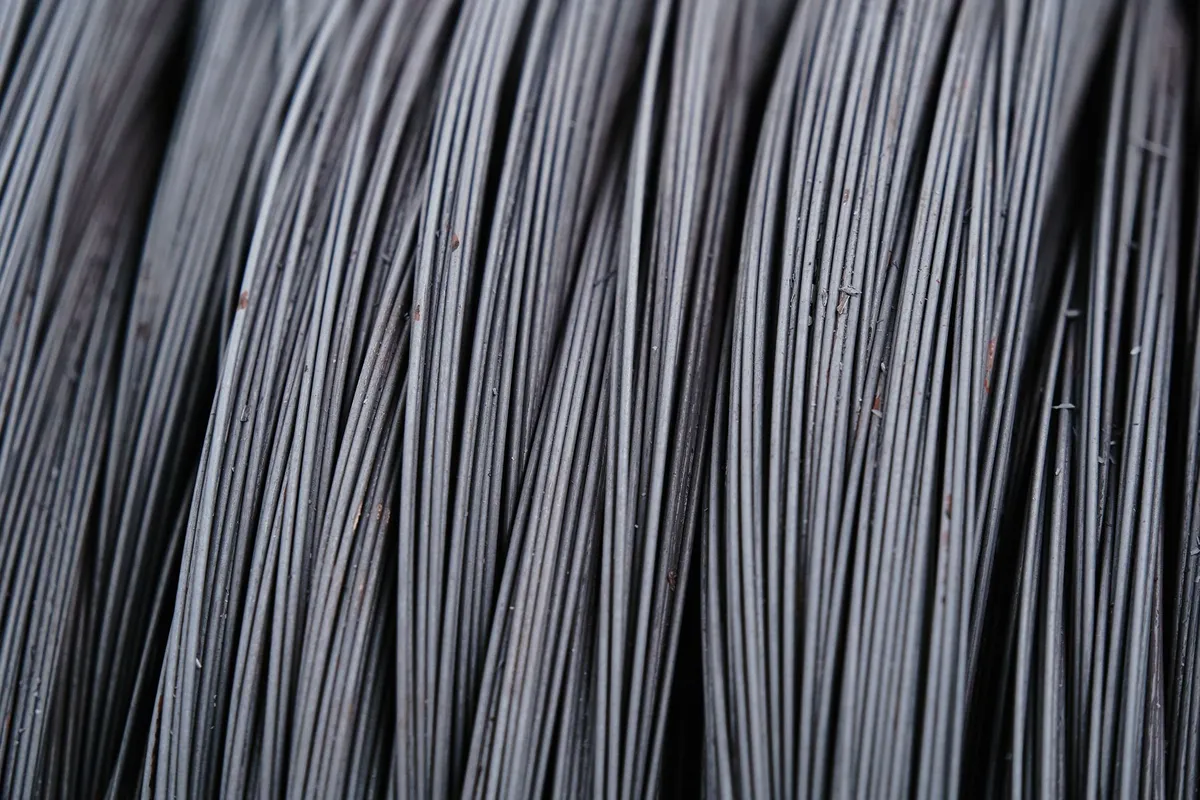
On a roller shutter the working positions are fixed. The main seal lives inside the guide rails, where bristles pulled into a groove let the curtain ride on filaments instead of metal. That change alone removes the rattle, protects the slat edges and their coating, and leaves the curtain free to run. A second strip in the rail’s end cap cushions the curtain where it meets the sill, and a top brush closes the head gap over the opening.
The principle is compliant contact. A rubber block fights the door’s tolerance with rigidity, while bristles bend individually, touching without dragging. Which slat material runs against those bristles changes the wear picture on both sides, and our slat materials guide walks that comparison in detail.
Where Brush Seals Beat Rubber Every Time
High-cycle doors are the clearest case: rubber in compression takes a permanent set, and the lip that touched the curtain on day one gapes by month three. That is engineering reasoning rather than a laboratory figure, and every maintenance lead has watched it happen. Bristles take no set; they spring back after every cycle, and their drag on the curtain is a fraction of a compressed block’s.
Dust is the second case. A bristle face sweeps the curtain as it moves, while grit pressed into a rubber lip gets ground into the sealing surface. Uneven surfaces are the third. Where an opening is out of plumb or the floor is wave-shaped, a rigid seal touches at three points and leaks everywhere else. Filaments make contact point by point along the whole line.

Guide rails themselves settle the argument. The recess between curtain and rail is too narrow for a compression seal that would fight the motor, and it is exactly where a groove-mounted brush belongs. Noise closes the case for roller shutter brush seals: a curtain running on bristles stops rattling because no metal rides on metal any more.
| Condition | Brush seal | Rubber seal |
|---|---|---|
| High-cycle traffic | No compression set, springs back | Takes a permanent set, gaps open |
| Drag on the curtain | Low, filaments flex | Higher, constant compression |
| Dust and grit | Swept away by the moving face | Embeds in the lip and grinds |
| Uneven openings | Contacts point by point | Gaps at the low spots |
| Guide rail gaps | Made for grooves | Too thick, adds drag |
| Rain and standing water | Passes water | Seals the joint |
| Airtightness and wind | Airflows through | Blocks the draft |
| Noise and rattle | Damps it | Can transmit it |
Where Rubber Still Deserves the Job
Rubber keeps the bottom edge, full stop. A compression bottom seal or a threshold profile is what stands between the door line and driving rain, melt water and leaves. The brush specialist whose data runs through this guide states plainly that strip brushes are not a bottom-of-door seal. A brush over a wet threshold maps the water rather than stopping it.
The same honesty applies to air. Brush seals moderate airflow but never stop it, so insulated rooms and wind-exposed gable openings still need a compressed gasket where pressure matters. Chemistry is the third limit: polypropylene shrugs off acids, alkalis and mineral fats yet has only limited petrol resistance, so fuel-handling floors need a different elastomer at every position.
The working answer is a pair, not a contest. Rubber owns the bottom seal and any gasketed position; roller shutter brush seals own the rails and the tolerance gaps. Where that division gets fuzzy, our bottom seal guide keeps the rubber side of the decision specific.
Choosing Bristle Material, Height and Density
Polypropylene is the default bristle. The same manufacturer’s data puts its service window at roughly −15 to +70 °C, with a melt point near 160 °C. It resists acids, alkalis and mineral fats, a profile that covers most warehousing. Nylon is the step up for abrasive or heavily used lines. Suppliers grade brush seals into light, standard and heavy duty tiers; match the tier to the traffic, not to the price list.
Nylon costs more but holds its flex closer to heat sources, which is why the material line belongs on the order alongside the diameter and backing height: a brush that stiffens beside an oven doorway is a replacement waiting for a quiet week. The same seal sits on one line of the doorway account: see how seals fit into the shutter energy ledger.
Filament diameter and planting density decide what the strip stops. Thin filaments at high density sweep fine dust, while thicker, sparser bristles shrug off grit and abuse. A wavy filament finish traps a little more dust and runs quieter than straight bristles, which is why the wavy cut shows up in most rail kits.

Height is a measurement, not a preference. Take the real gap at the closed door, add a few millimetres of engagement, and pick within the 3.0 to 30.0 mm band, keeping uneven floors near its top. The backing foot must fit the retention groove, and 4.8, 6.7 or 6.9 mm feet cover most standard channels. A strip that rattles in its own groove wears twice as fast.
Slats and guides we roll in galvanized steel, aluminium or stainless between 0.8 and 1.5 mm set the geometry on our doors. For non-standard industrial doors, the weather seal range is the first place to look.
Fitting Brush Seals to a Roller Shutter
Fit with the door closed. Park the shutter, walk the line and mark where daylight shows and where the old seal has given up, because a parked door reports its real gaps. Confirm the rails before buying anything: industrial doors run thousands of cycles a year, and a guide out of square will chew any seal. Our guide rail and bracket guide covers that alignment check.
With the gap map in hand, order strips whose foot fits the groove and whose bristle height covers the worst gap plus engagement. Strip out the old weatherseal and clean the channel. Cut each new strip to length, and fix it — slid into the groove, screwed under a holder strip, or stuck with tape on surfaces paint will not bite. Work from the top down on each side, and keep the bristles leaning with the curtain’s travel rather than against it.
The contact test decides whether the job lasts. Run the door and pull the curtain by hand: the bristles should brush it, not grip it, with resistance even along the whole line. A strip crushed against the curtain loads the motor and wears flat within weeks. And do not finish by sliding a brush over the threshold to catch water, because that position belongs to rubber.
Wear Checks and When to Replace Them
Brush seals fail in readable ways. Daylight reappears along a rail, or dust lines creep further into the room. Bristles that used to spring back stay flattened. Whole tufts go missing, or the rattle you silenced last year returns because the filaments no longer fill the gap.
Worn guides and a tired curtain change more than the seal bill; they can disqualify the door from motorization entirely, which is why the manual-to-electric roller shutter conversion guide runs its feasibility screen before any motor is quoted.

Replacement is a short job when the groove was left clean. Pull the old strip, cut the new one to the same length, and refit it in the same channel. Then run the contact test again. Treat strips as the consumable they are, and fold the check into the quarterly round rather than waiting for the door to complain.
Seals win by assignment, not by loyalty. Rubber holds where water and pressure push, and bristles hold where motion and grit never stop. Fit each material where it wins, and the gap you sealed stops showing up as dust on the floor and noise in the rails.
Frequently Asked Questions About Roller Shutter Brush Seals
Where do brush seals go on a roller shutter door?
In the guide rail grooves along both sides, in the rail end caps above the sill, and across the head over the opening. The bottom edge is the exception: that position needs a compression rubber seal, not a brush.
Can a brush seal replace the rubber seal at the bottom?
No. Brush filaments pass water and air. Bottom edges need a rubber compression seal or a threshold profile against driving rain and standing water, while brushes handle the rails and tolerance gaps.
What bristle height do I need?
Measure the gap at the closed door and add a few millimetres of engagement, then choose within the standard 3.0 to 30.0 mm range. Uneven floors and out-of-plumb openings belong toward the top of that range.
How often should brush seals be replaced?
Inspect quarterly and replace strips when bristles stay flattened, tufts fall out, daylight returns or the rattle comes back. High-traffic doors consume strips faster, and a clean, dry groove roughly doubles strip life.
Why is my door harder to lift after fitting brush seals?
The strips are compressed into the curtain instead of brushing it. Back the holders off until a hand pull feels even and light along the line, and confirm the bristles lean with the curtain’s travel.