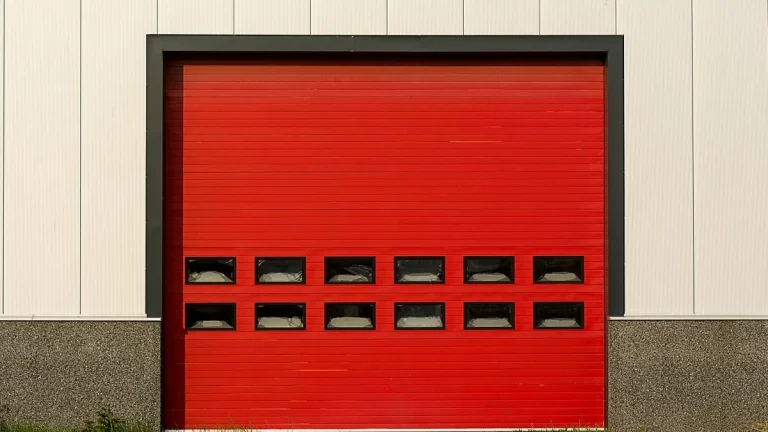
A door that was commissioned three months ago starts grinding at the same point of travel. The maintenance log already reads replaced rollers twice, the spring balance was re-checked, and the work order still has no line for the guide rails. Nobody has put a level on them, so the door keeps wearing out rollers that were never the problem.
We manufacture industrial doors and their running gear, and misaligned hardware is the most common thing we meet at the factory edge of a warranty call. This page is the checklist our own crews use for industrial door guide rails. It covers what the rails and brackets do, what each bracket must carry, the alignment criteria you can measure, and the installation sequence that holds those criteria for years.
What Guide Rails and Brackets Actually Do
Guide rails fix the path of the door. Vertical sections hold the leaf against the jamb through opening and closing, a curved corner hands the leaf over, and horizontal sections carry it back over the opening. Brackets are the quiet half of the system: they hold each rail section in position and pass every reaction force into the building structure.
The load they see is smaller than most people assume, and that is the point. In a counterbalanced door the springs carry the weight, so the rails mostly guide and resist drag, wind and off-center loads. Panel weight still travels through the hinges into the roller stems before it reaches the industrial door tracks and rollers. Rail alignment and roller wear therefore always show up together.

Read the system this way and the maintenance logic follows. A rail that drifts out of plumb loads rollers sideways, and a loose bracket lets the rail flex under wind. The grinding at one point of travel in our opening scene is rarely a bad roller; it is a rail that changed position at that height.
Guide Rail and Bracket Types for Industrial Doors
Industrial doors come with different rail families because the doors move differently. Sectional doors run vertical tracks at the jambs, a curved pair of corner sections, and horizontal tracks back over the door. High-lift and vertical-lift doors simply extend the vertical portion, so their rails and supports see more side load than a standard-lift layout.
Rolling shutters use a different guide style altogether: U-shaped rails that accept the curtain edge on both sides. A standard U rail serves ordinary shops, while industrial plants need thickened rails with a larger wall thickness. Match the section to the curtain weight and the wind load at the opening. Material follows the environment: hot-dip galvanized steel for cost and ordinary air, aluminum where weight matters, stainless 304 for humidity and washdown, and 316 where coastal chlorides attack hardware.
The brackets come in four working families regardless of door type. Jamb brackets anchor the vertical rails and are usually slotted so the rail can be nudged into final position before tightening. Flag brackets carry the curved corner and transfer its thrust into the wall. Ceiling brackets, often called backhangs, support the horizontal track over the door and stop it from bending under load. Rear support brackets close the system at the far end of the run.
Systems are rated by door weight class, the way industrial sliding track sets are sold for doors up to 4,400 pounds. Rails, rollers and brackets therefore get specified together rather than piece by piece. Industrial door guide rails chosen in isolation from the door schedule are the ones that come back on warranty claims.

The Load Path: What Brackets Really Carry
Follow a balanced sectional door through a cycle and the springs take the panel weight, the rollers take guidance, and the rails take the leftovers. The leftovers are drag, skew loads when one side runs ahead of the other, and wind pressure on the sealing edge. A door that has lost spring balance changes the picture immediately: the full weight then presses the rollers into the rails, and every bracket feels it. That is why a broken spring and a bent rail so often arrive on the same work order.
Horizontal runs fail differently from vertical ones. A long unsupported track acts like a beam, and backhang brackets exist to shorten that span. When one works loose, the track dips and the door rides downhill into the curved section, which shows up first as noise and later as a curled rail edge. On vertical-lift doors the rails also react the side thrust of the whole travel, so their anchoring deserves the tighter inspection.
Loose hardware compounds every other fault in this list. A bracket that has backed off half a turn lets the rail flex under each pass, and that flexion works its neighbors loose in turn. This is why rail checks and bolt checks belong on the same work order rather than on two different schedules.
Shutters add wind to the list. Wind pressure on the curtain passes into the guide rails and their fixings, and that path is how industrial doors are wind-load graded under EN 13241. Our own high-speed rigid doors are rated to the Class 5 wind level. A guide rail bolted to a light panel wall may look identical to one on steelwork, yet fail in the first storm. Treat the anchor as part of the load path, which is why our door track and guide rail components are drawn against the door schedule.
Alignment Criteria You Can Measure
Alignment is not a feeling; it is five measurements. Check each against the list before you blame any roller, operator or spring.
- Plumb. Both vertical rails must read plumb over their full height with a level, and the jamb brackets exist to make that possible.
- Parallel spacing. The distance between the two vertical rails must be identical from top to bottom; a taper binds the rollers at one end of travel.
- Track-to-door gap. The rail face should sit parallel to the door edge with an even gap of about 1/8 to 1/4 inch along the travel.
- Stop-molding clearance. The door should clear the stop molding by roughly a quarter inch; a gap that closes unevenly is an early misalignment reading.
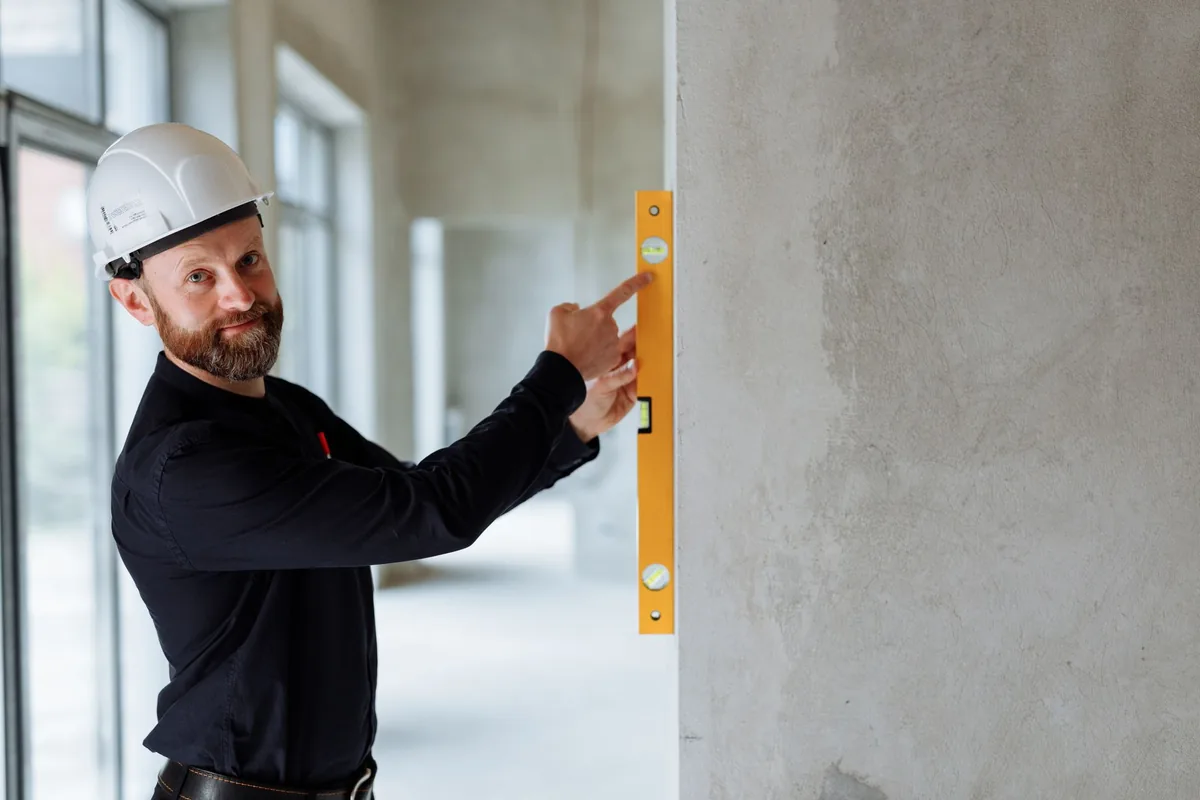
- Horizontal level. Horizontal sections must sit level, and ceiling brackets must be set level so the run does not dip between supports.
Symptoms map straight onto those numbers. Grinding or scraping points to a gap that has closed. Clunking on upward travel and rubbing against the molding point to a rail that has shifted. A door that shakes on the move points to a loose bracket somewhere along the run. When the symptoms appear at one height, measure at that height first, because rails move where their fixings are weakest.
This is the argument behind slotted bracket holes. On industrial door guide rails, alignment is the bracket’s job, done with a level and a shim, not the installer’s eye for a straight line. The five readings take minutes per door, and they convert a vague complaint that the door feels heavy into a number a contractor can sign. Put them on the commissioning sheet as well as the service sheet, so every later reading has a baseline to fail against.
Anchoring Guide Rails: Structure, Spacing and Fasteners
Anchoring starts in the structure, not in the rail. Check the jambs and header for rot, warping and loose fasteners before any rail goes up. Shim them plumb and level first, because a rail bolted to a crooked jamb inherits the crook. The fixings belong in load-bearing structure, since the bracket is only as good as what stands behind it.
Spacing is a manufacturer question, not a habit question. Follow the supplier’s spacing chart for ceiling and backhang brackets, and keep every bracket level. Set backhang positions where the drawing puts them; that is what keeps the horizontal run from bending. Where a chart gives no answer for an unusually tall opening, the supplier’s engineering desk decides, not the drill operator.
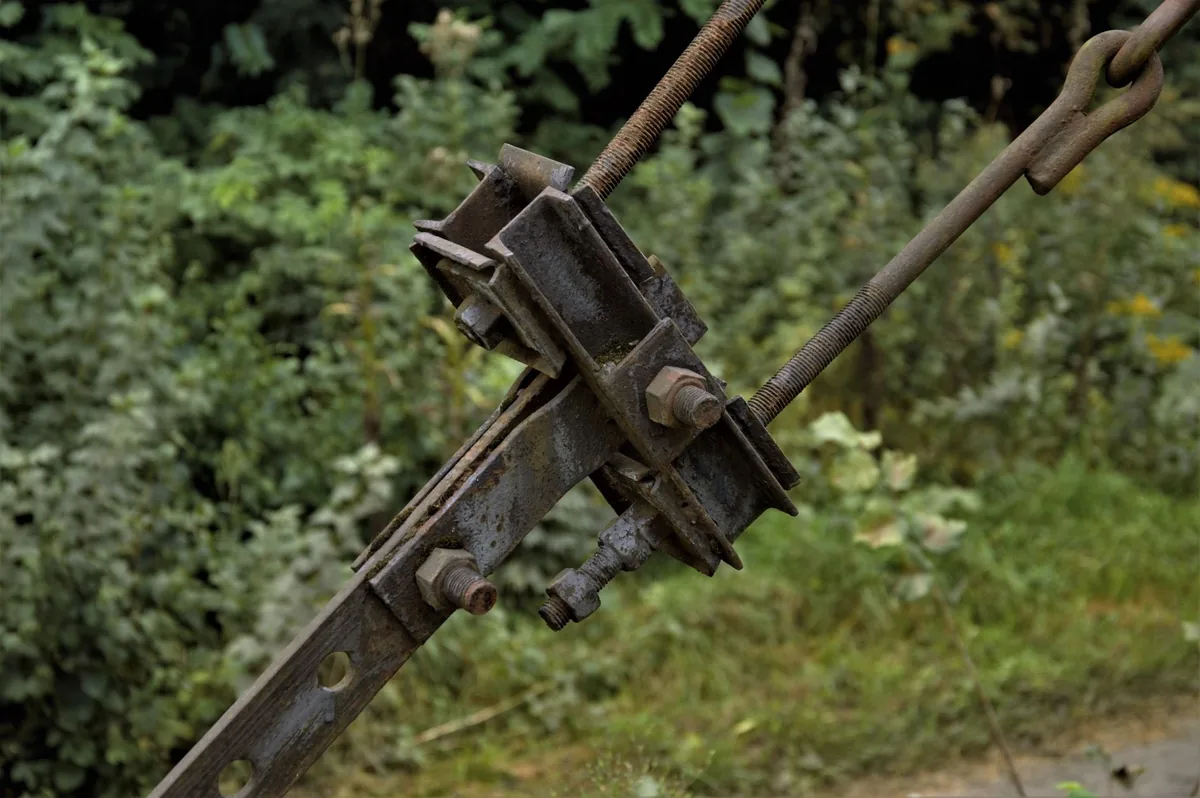
Fasteners deserve their own glance during service visits. Corrosion streaks, backed-off nuts and elongated holes each say the connection has been working, and each is cheaper to fix than the rail failure that follows. Where the opening takes frequent forklift traffic, add a jamb-protection check to the same visit, because struck jambs move the anchors whether or not the bolts stay tight.
Retrofit work earns one extra caution here. An old wall rarely meets the drawing, so probe the fixing points before committing to the chart spacing. Moving a bracket position to find sound structure is engineering; discovering the void after the rail is loaded is a recovery job.
Installing and Aligning Guide Rails: The Sequence
The sequence below folds the alignment criteria into the installation order, and the order is what makes the checks cheap. Disconnect the power to the operator before hands go near the rails, and wear eye protection and gloves throughout.
- Bolt the horizontal track sections together, matching the factory markings so the joint is smooth.
- Connect the curved corner sections to the horizontal run.
- Mount the ceiling brackets at the specified spacing and confirm each one is level before it is loaded.
- Hang the vertical rails loosely on the jambs with temporary fasteners; nothing is tightened yet.
- Join the vertical rails to the curved sections so the three pieces form one continuous path.
- Check plumb on both verticals, confirm the spacing is identical top to bottom, and shim until the readings hold.
- Tighten every fastener in the system, then re-read the levels, because tightening moves rails.
- Run the door by hand through the full travel and confirm the rollers pass without resistance.
Two details from that list decide most outcomes. The loose-then-shim rule for the vertical rails is what makes a truly parallel pair possible, since a rail tightened first can only be forced, never aligned. And the hand test at the end is the acceptance criterion: a roller that stops or drags marks the exact height where the measurement slipped. Good industrial door guide rails forgive little once the fasteners are tight, which is why the checks come before the torque.
Note also what the sequence leaves out. Springs are not tensioned during rail work; rail geometry is set first, and the counterbalance is commissioned afterwards against straight rails, never the other way around.
Safety Limits: Stored Energy and Powered Doors
Guide rail brackets sit close to two stored hazards. The first is the spring system: torsion assemblies hold enough energy to injure, and track hardware near the shaft must never be hammered loose to release a binding door. Read our industrial door springs and torsion spring systems guides before touching any hardware under a loaded spring.
The second is the door itself. Work on power-operated doors belongs with trained personnel using proper equipment, as the UK safety authority sets out. EN 12453 holds powered industrial doors to the same standard of competence. Nobody stands or works beneath a suspended door or an unsupported horizontal run, and the operator stays disconnected until the hand test passes.
Sourcing Rails and Brackets Matched to the Door
Buy the rails with the door, not after it. Rails, brackets, rollers and hinges drawn from the same door schedule wear together and diagnose cleanly, while shelf-picked hardware pairs an unknown rail section with a bracket spacing nobody calculated. Sourcing industrial door guide rails from the door drawing is what keeps the fixing detail, the rail section and the load on one page. That is why our quotations start from the door schedule, and why the installation manual and CAD drawings ship in the same set.
First-party facts. RaxDoor has manufactured doors and components since 1999 and ships to more than 70 countries, certified to ISO 9001:2015, CE under EN 13241 and EN 12453, and SGS verified. We work in galvanized steel and stainless 304 and 316, with no minimum order quantity, and every rail and bracket set is matched to the door it moves.
CAD records stay archived for five years, so repeat orders skip new tooling. First orders run 20 to 35 days and repeats 15 to 20. Warranty-period spare parts ship by DHL or FedEx within 5 to 7 days, and installation documentation is supplied in English.
The opinion we opened with is the one we close on. An industrial door runs on the tolerances its brackets hold, not on the weight of the steel that holds them. Measure the five criteria on every service visit and the grinding door stops being a mystery; skip them, and the log will keep reading replaced rollers twice.
Frequently Asked Questions About Industrial Door Guide Rails
How plumb must a vertical guide rail be?
Fully plumb and parallel. Check with a level, shim the jamb brackets until it reads true, and keep the distance between the two rails identical from top to bottom before final tightening.
What gap should an industrial door keep in its guides?
The rail face should sit parallel to the door edge with an even gap of about 1/8 to 1/4 inch. The door should also clear the stop molding by roughly a quarter inch along the travel.
What is a backhang bracket?
A support bracket bolted along the horizontal track that stabilizes it over the door, prevents track bending and keeps the path aligned. Its placement follows the manufacturer’s spacing chart.
Why does my door grind at one point of travel?
Usually a localized misalignment: a loose bracket bolt or a bent rail section at that height. Re-check plumb, parallel spacing and the track-to-door gap before replacing rollers again.
Which guide rail material suits a coastal plant?
Hot-dip galvanized steel serves ordinary environments, stainless 304 handles humidity and washdown, and 316 is the choice where coastal chlorides attack the hardware.