
Installation day is the most dangerous day in the life of a powered door. The springs that will lift the automatic garage door for the next decade are wound to store that energy today. Britain’s Health and Safety Executive revised its guidance for powered doors precisely because installation and commissioning failures kept turning into injuries. Every professional guide draws the same line: the spring assembly is specialist work, and the rest of the job deserves the respect of a checklist rather than memory.
What separates a clean installation from a callback is attention in the right order. Verify the opening, respect the springs, build the track square, and balance the door before the motor touches it. Force tests and a handover file then close the job. The table below is the whole sequence; the sections after it explain what each check protects and what getting it wrong costs on an automatic garage door job. RAX doors arrive with CE documentation to EN 13241, safety functions to EN 12453, and the manufacturer’s drawings — the checklist assumes you have them on site.
The Installation Checklist at a Glance
| Phase | Critical check | If it goes wrong |
|---|---|---|
| Opening verification | Width, height, plumb, level, square | Door never fits; site rework |
| Headroom and sideroom | Track space vs door specification | Wrong lift geometry discovered mid-install |
| Spring assembly | Spec matching; specialist handling | The injury risk of the whole job |
| Track and panels | Square tracks, level panels, torqued fixings | Binding door, worn rollers |
| Door balance | Stays at any position by hand | Motor drives an unbalanced load |
| Operator mounting | Rail aligned to door centerline | Chatter, wear, opener failure |
| Safety devices | Photocells, edge, auto-reverse, force limits | Failed EN 12453 commissioning |
| Handover | Test records and user instruction | No evidence the door was ever safe |
Before the Door Arrives: Opening and Structure
Every installation failure that costs a day starts here. Measure the structural opening and compare it against the door’s manufactured dimensions, width and height, not the old door’s footprint. The new door is built to its drawing, not to what happens to be in the wall. Check the jambs plumb and level, the floor across the opening, and the corners square. A frame out by a centimeter becomes a seal gap and a binding track no adjustment recovers.
Then verify the room the door needs: headroom for the horizontal track and raised panel stack, sideroom for the verticals, and structural backing at every loaded fixing point. Power belongs on this list too — the operator’s supply position, rated correctly and routed before the ceilings close, is a pre-install item, not an afterthought. Fifteen minutes of verification here is the cheapest labor on the project.
Handling the Spring Assembly Safely
The torsion spring is the part that makes the door safe to lift and dangerous to install. A spring rated for 30,000 or more cycles — RAX specifications — stores enough energy at wind-up to break bones when a winding bar slips. Every credible guide reserves this work for trained installers with proper bars, clamps, and restraint cables. Do not improvise tools here, and do not unwind a spring to “check” it.
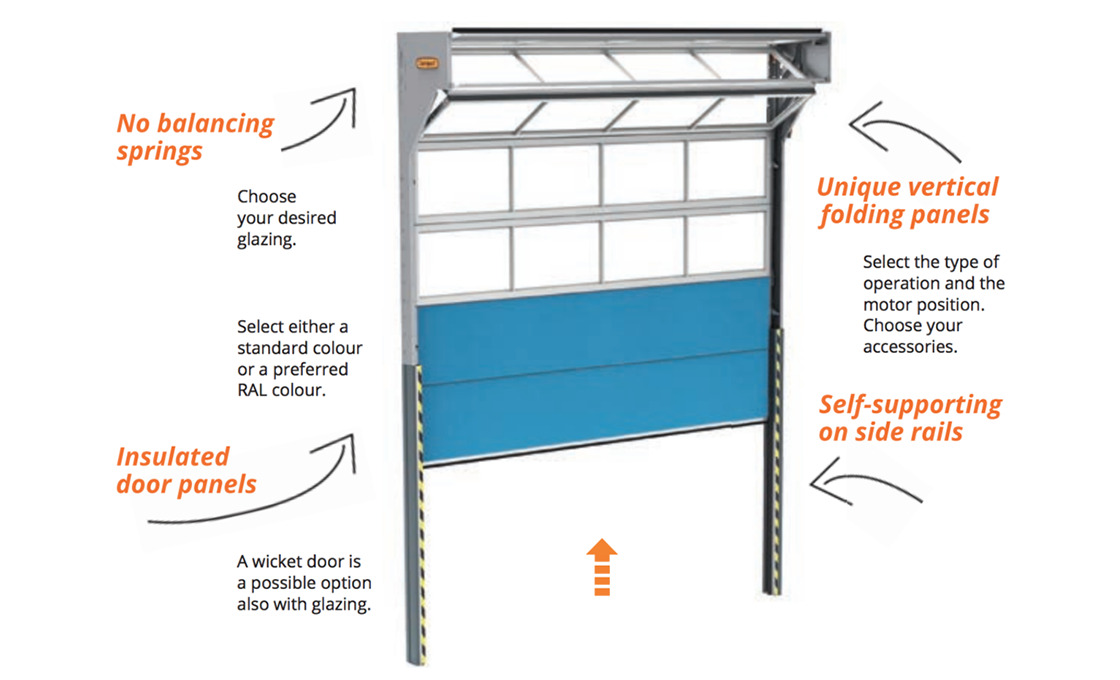
Match the assembly to the door, not the other way around: spring rating to panel weight, cable drums to lift height, all against the manufacturer’s drawing. If a replacement spring is ever needed, order to the drawing rather than to the broken part’s appearance. RAX holds CAD records for five years, so the correct specification is a lookup, not a guess.
Track and Panel Installation Sequence
The sequence is vertical first, panels bottom-up, horizontal last. Set the vertical tracks plumb off the jambs, then stack panels bottom-up with rollers seated and hinges torqued as each section locks. Only then fix the horizontal track and radius, squared to the wall and parallel to itself — the door follows whatever geometry you give it for the next decade.
Two details keep the door honest. Fixings go into structure, not plaster or filler, at every load point the drawing marks. And the hardware that came with the door stays with the door. Substituting a lighter bracket to save a trip to the van is how a specification quietly stops being one.

Mounting the Operator and Drive
Before the operator goes up on any automatic garage door, prove the door by hand. A balanced door stays wherever you position it; one that drifts has a spring adjustment to fix first. An operator on an unbalanced door becomes the wear item, driving load the springs were specified to carry. Balance first, motor second: this single ordering decision prevents more opener failures than any brand choice.
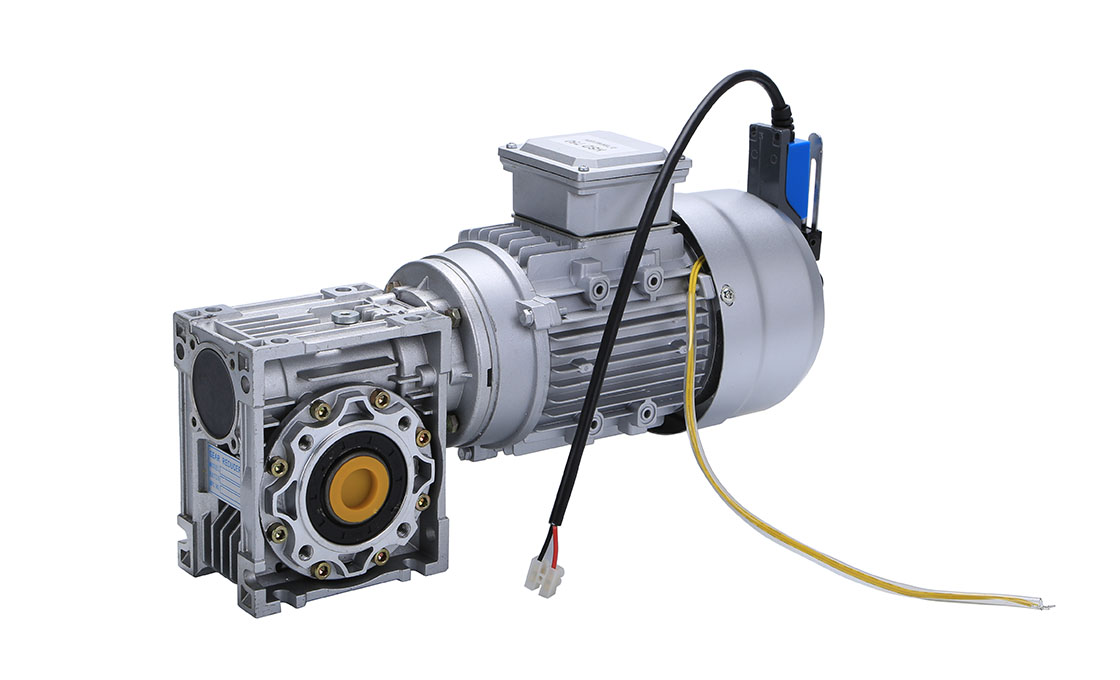
Mounting the operator is alignment work. The rail sits on the door’s centerline, the drive arm connects without side load, and the structure is rated for the motor’s dynamic forces. Choosing the right operator class is its own subject — the commercial garage door opener guide covers duty cycle and drive types. Installation success is mostly the two rules above.
Safety Devices and Force Settings
Commissioning an automatic garage door is where EN 12453 stops being a document and becomes measurements. The standard’s logic is simple: a powered door that people can approach must not hurt them, and the installer proves it before handover.
Photocells and Protective Edges
Mount the photocell pair so the beam covers the approach path and align them until they register reliably. Then test obstruction response with the door in motion — it should reverse, not merely stop. Where the risk assessment calls for more, a pressure-sensitive bottom edge adds contact detection that photocells cannot cover; wire, test, and record both.
Force Limitation and Auto-Reverse Tests
Force limitation settings cap what the moving door can exert at its edges. Commissioning means measuring those forces against the standard’s test methods — dynamic on approach, static at pinch points — and documenting them. The auto-reverse test with a test object closes it: if the door fails to reverse cleanly, the job is not finished. Keep the manual release demonstration in the handover as well, because the day the power fails is the wrong day to discover how it works.
Commissioning Records and Handover Documentation
The handover file turns a completed installation into a defensible one: force test records, safety device checks, and the CE conformity documents that travel with the door. User instruction goes to a person, not a wallet on top of the opener. RAX ships its doors with the EN 13241 conformity and EN 12453 safety documentation as standard, so the file is an assembly job, not an archaeology project.

Write the record like it will be read by someone who was not there — because after an incident, it will be. Dates, measured values, the installer’s name, and the door’s serial reference: five minutes of writing that protects everyone who touches the door afterward.
The First Weeks After Installation
New installations settle. Fixings relax, cables take their working position, and the first weeks of traffic reveal what static checks cannot — so schedule the return visit before you leave site. Re-torque the track and hinge fixings and inspect cables and rollers for uneven wear. Then re-run the balance test now that the door has a few dozen real cycles.
Set the maintenance rhythm at handover: the seal, guide, sensor, and force-check schedule the manufacturer specifies. The warranty behind it runs two years on the door, three on operators and motors, five on servo motors at RAX, with parts in 5 to 7 days. An installer who hands over a maintenance plan hands over fewer callbacks.
Frequently Asked Questions From Installers
Can a homeowner install an automatic garage door themselves?
The panel and track work suits skilled DIY; the spring assembly and EN 12453 force commissioning are specialist work. Commercial installs are professional throughout.
Why test door balance before mounting the operator?
An unbalanced door makes the motor carry the springs’ load, which wears the opener and voids the logic of the specification. Balance first, always.
What must the handover file contain?
Force test values, safety device checks, CE documentation to EN 13241 and EN 12453, and delivered user instruction — dated and signed.
What if a spring or part needs replacement later?
Order to the manufacturer’s drawing. RAX holds CAD records for five years, and spare parts ship in 5 to 7 days.
What the Checklist Protects Long-Term
The checklist is not bureaucracy; it is memory in the right order. Verify the opening, respect the spring, build square, balance before powering, and test the forces. Write down what you measured, because the door’s whole service life inherits its install day. For the door itself, the RAX sectional range ships with the drawings and documentation that make every line of this checklist executable, and single custom doors carry no minimum order. See also: torsion spring specification and safe winding.